How to Inspect a Used Car Before Buying It: A Checklist

Sep 18, 2024

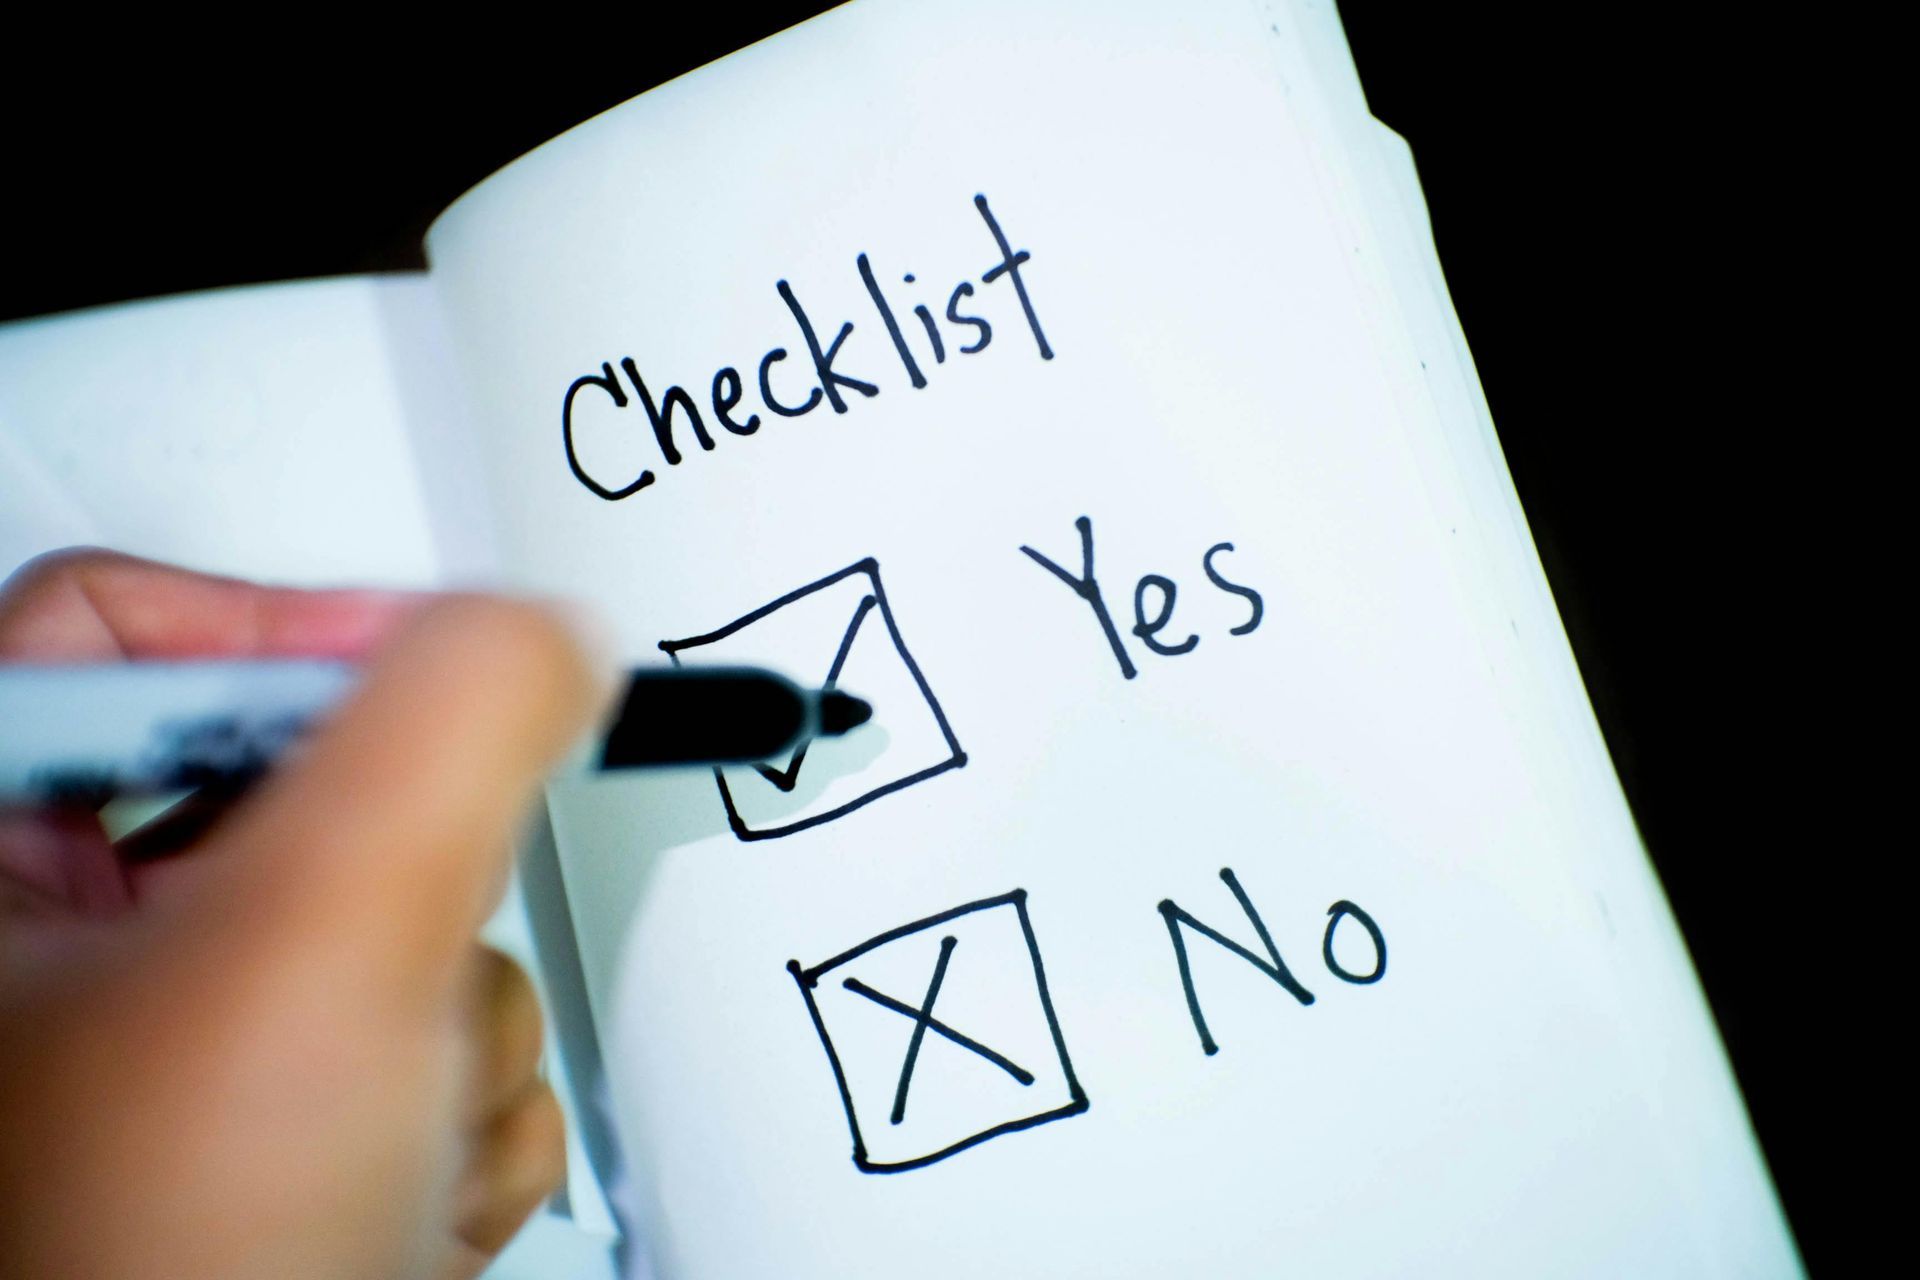
Buying a used car can be a smart financial decision, but it comes with risks. Without careful inspection, you might end up with a vehicle that requires expensive repairs or is unsafe to drive. Whether you’re purchasing from a dealership or a private seller, knowing what to look for can save you time, money, and frustration. This checklist will guide you through the essential steps to inspect a used car before buying it.

Exterior Inspection

The first thing to examine is the car’s exterior. This gives you a quick idea of how well the vehicle has been maintained and if there’s any hidden damage.

  • Check for Body Damage: Walk around the car and look for dents, scratches, or signs of previous accidents. Mismatched paint or uneven panels can indicate the car has been in an accident and poorly repaired.
  • Inspect the Tires: Make sure all four tires have even wear and plenty of tread left. Uneven tire wear could suggest alignment issues or suspension problems.
  • Look for Rust or Corrosion: Surface rust is typically not a major concern, but rust underneath the car or in critical areas (like the frame) can be a sign of serious problems down the line.
  • Inspect the Windshield and Lights: Check for cracks or chips in the windshield and ensure all lights (headlights, tail lights, turn signals, and brake lights) are working properly.
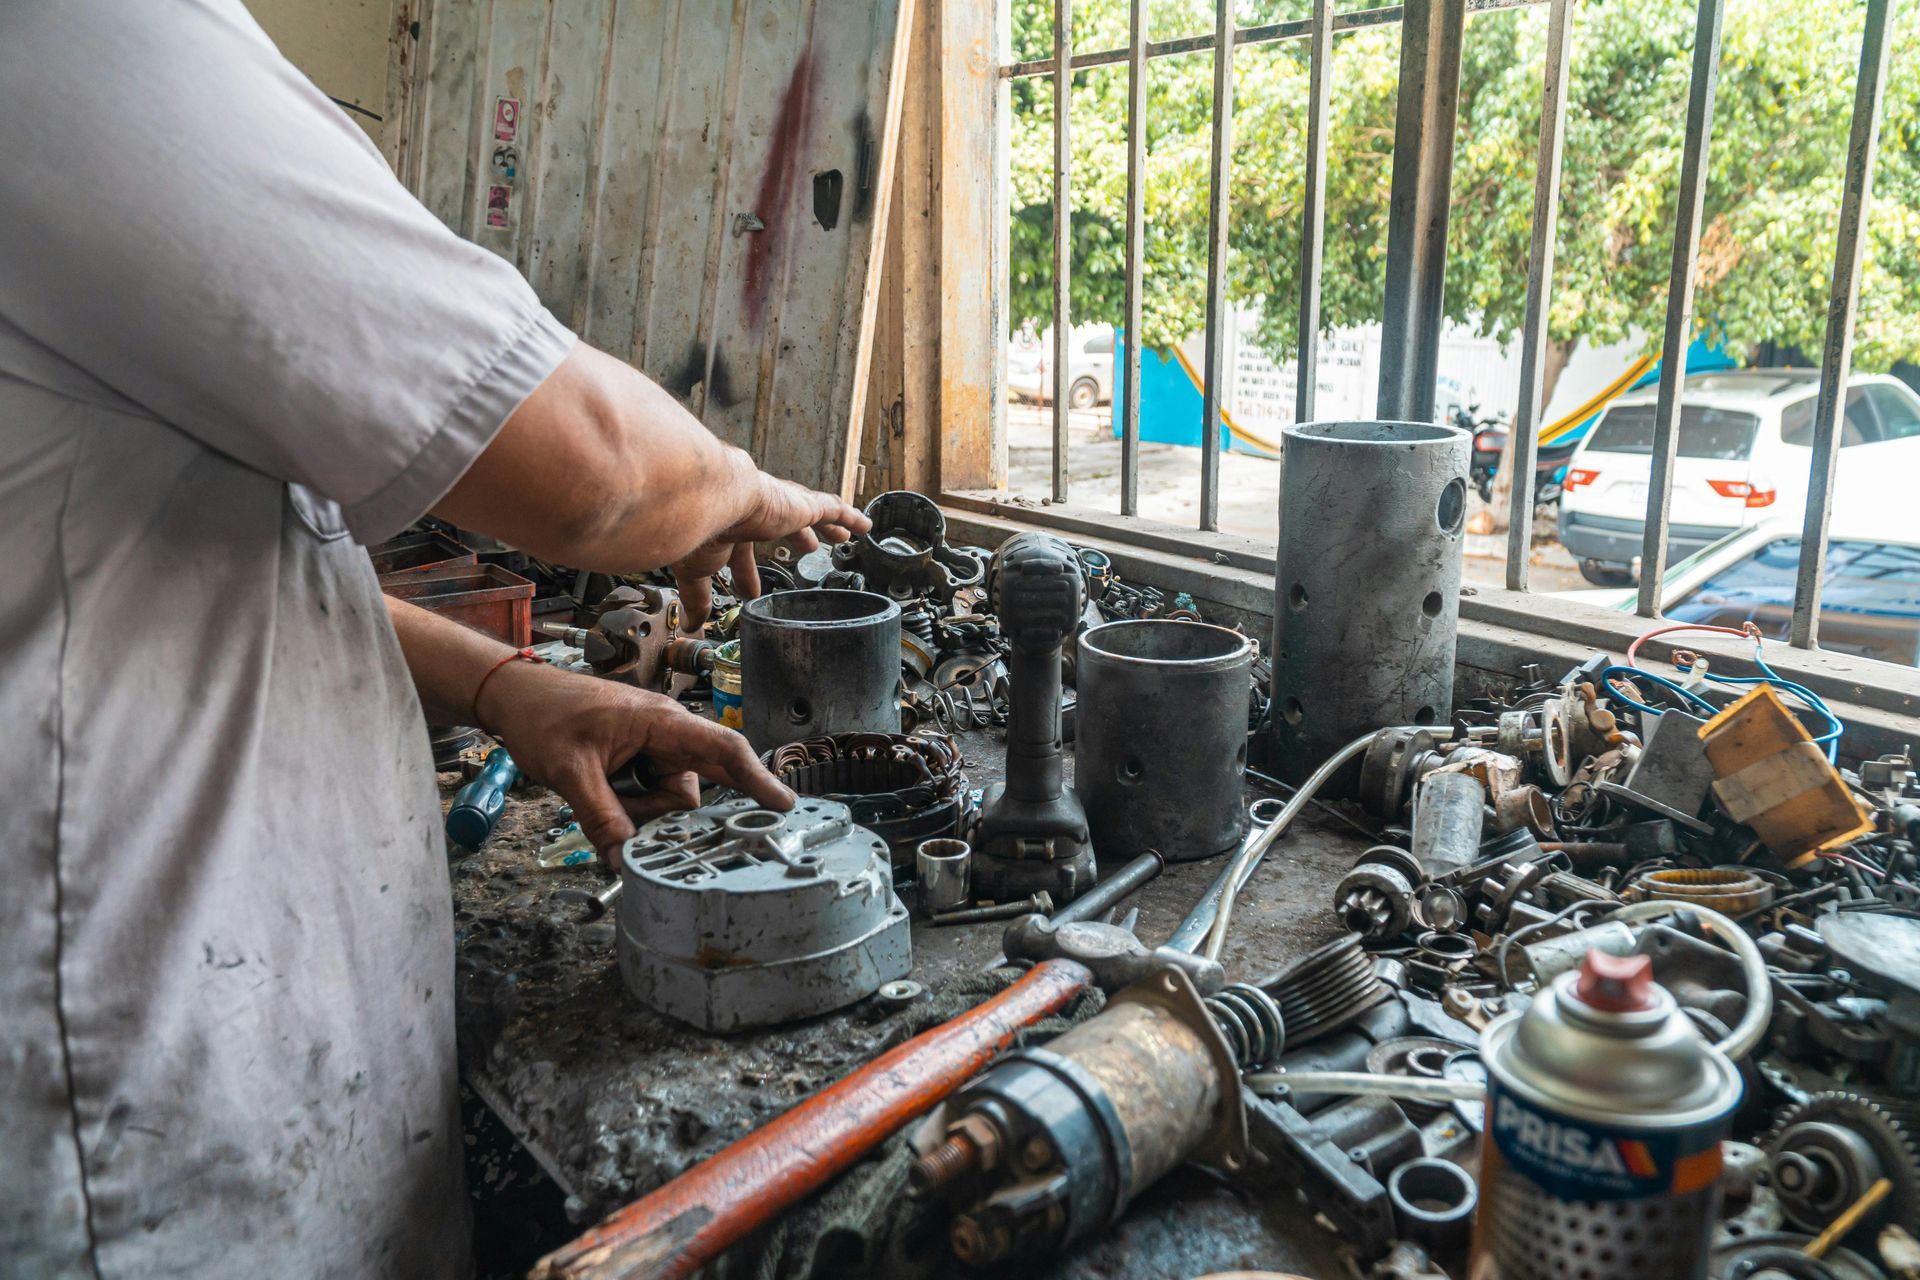
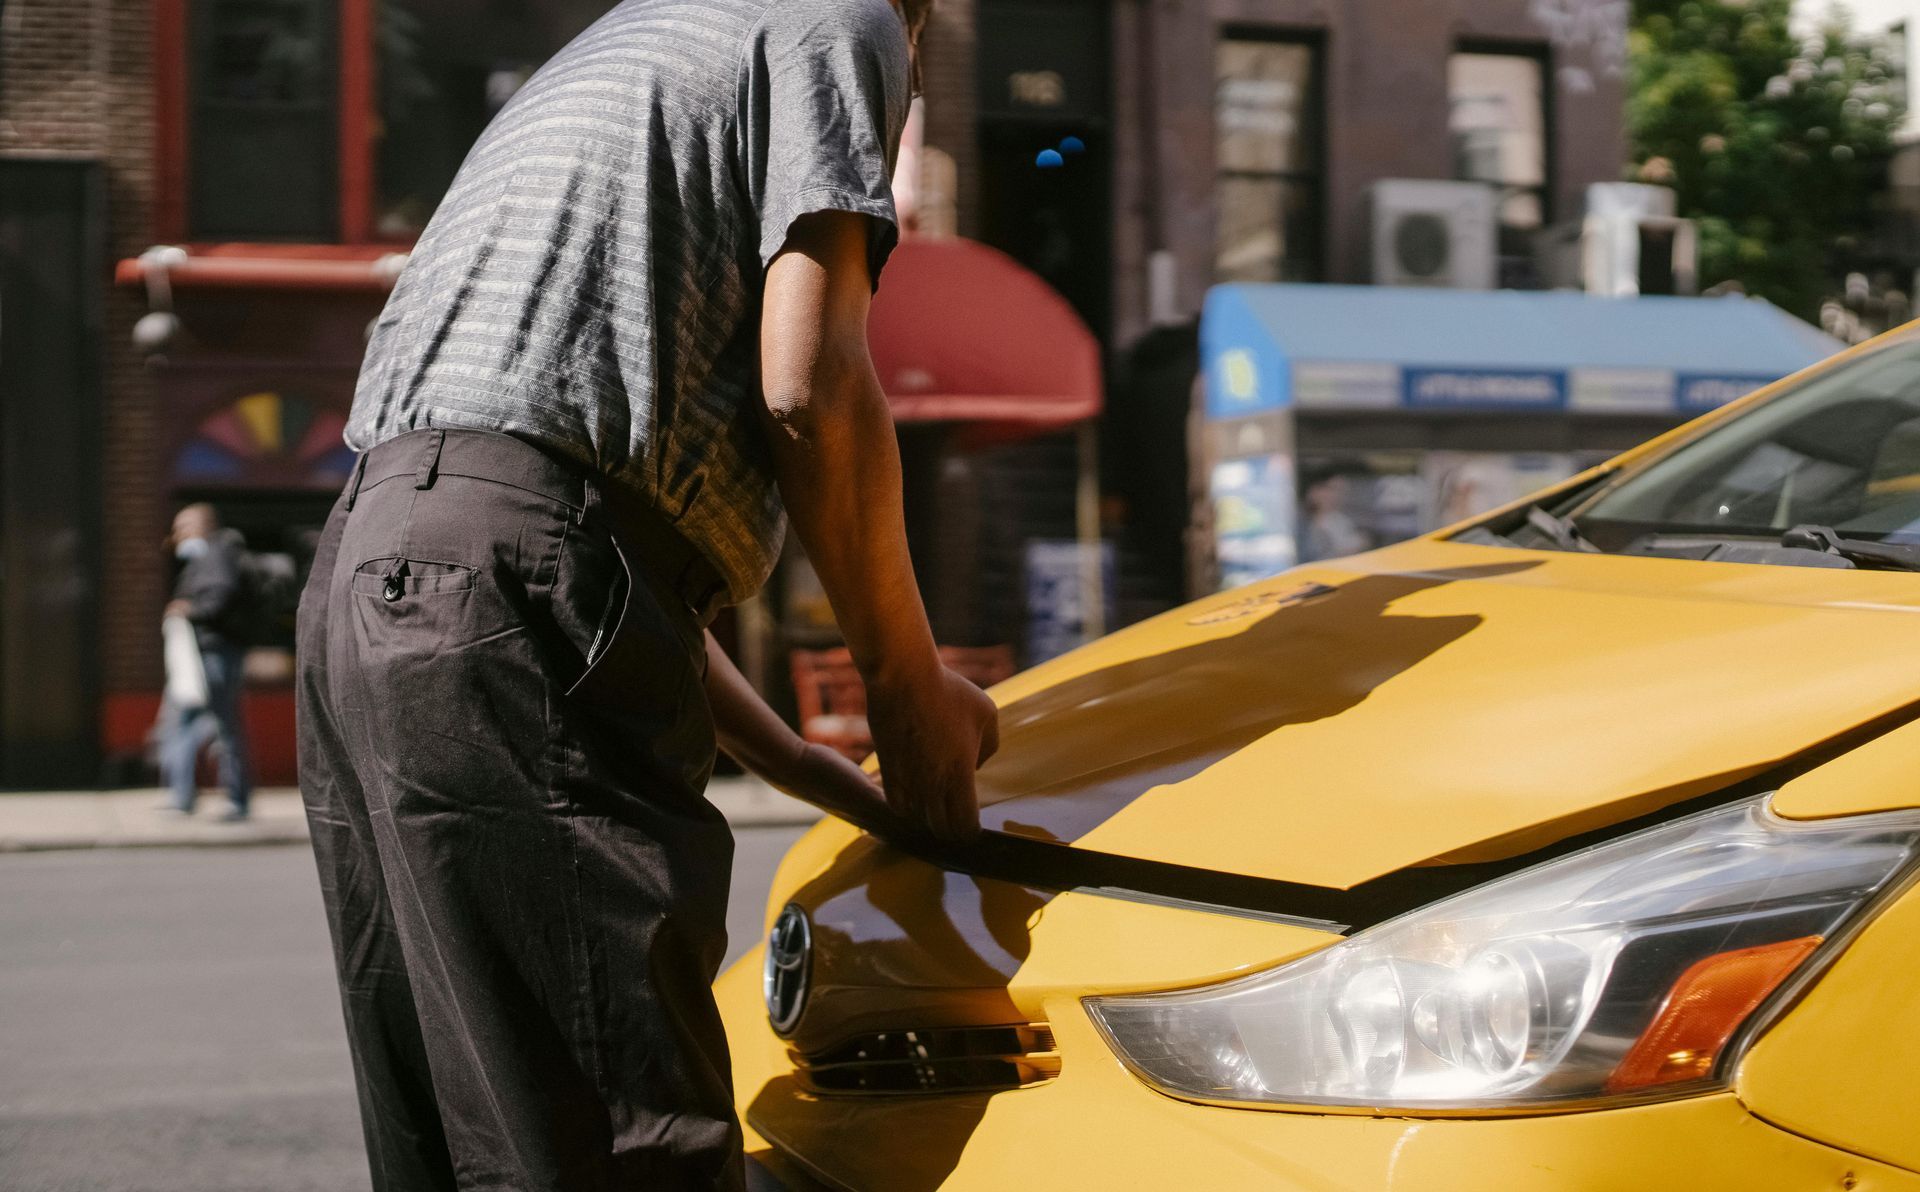
Under the Hood

The engine is the heart of the car, so a thorough check under the hood is crucial to avoid costly repairs later.

  • Check the Fluid Levels: Ensure the car has adequate levels of oil, transmission fluid, brake fluid, and coolant. Low fluid levels can indicate poor maintenance or even a leak.
  • Examine the Belts and Hoses: Look for any signs of wear, such as cracks, fraying, or leaks. Worn belts and hoses are relatively cheap to replace but can lead to more significant engine damage if ignored.
  • Inspect the Battery: Check for corrosion around the terminals and ensure the battery is securely mounted. Test the battery’s charge if possible, as a weak battery may need replacement soon.
  • Look for Leaks: Any sign of oil, coolant, or transmission fluid leaking from the engine or under the car is a red flag that something might be wrong.

Interior Inspection

The interior condition of the car reveals how well it has been cared for and how much wear and tear it has experienced.

  • Check the Upholstery: Look for tears, stains, or excessive wear on the seats and carpeting. Make sure the seats adjust properly and feel comfortable.
  • Test All Electronics: Make sure the radio, air conditioning, heater, and all dashboard instruments work. Check that the windows, locks, and mirrors operate correctly.
  • Inspect the Dashboard for Warning Lights: When you turn on the car, all dashboard warning lights should briefly illuminate. If any lights stay on, it could indicate a problem that needs further investigation.
  • Check the Odometer: Verify the mileage on the car. High mileage cars tend to require more maintenance, so balance the car’s age with how much it has been driven.
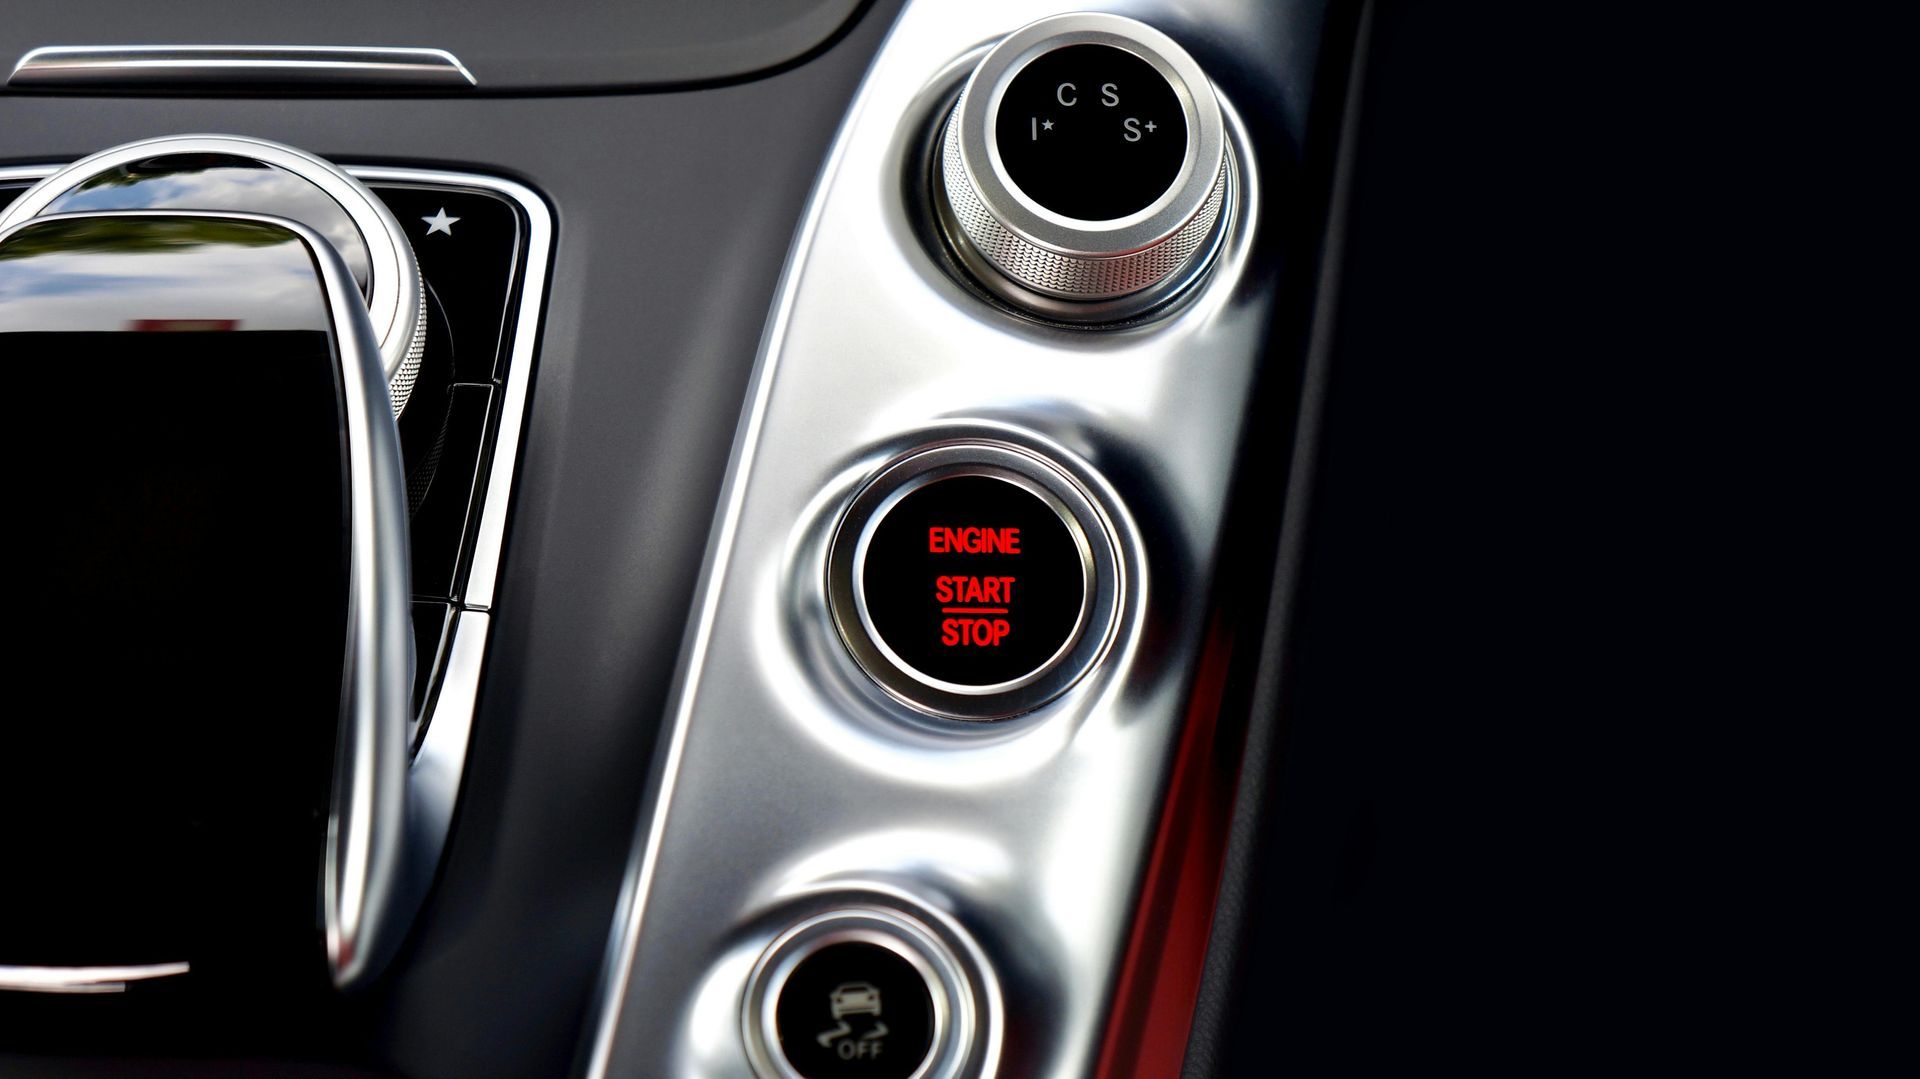
Test Drive

A test drive is one of the most important parts of the inspection process. It gives you a feel for how the car handles and reveals any potential mechanical issues.

  • Start the Car Cold: A car’s engine behaves differently when it’s cold versus warmed up. Start the car when it hasn’t been driven for a while to check for problems like hard starting or strange noises.
  • Listen for Unusual Noises: Pay attention to how the engine sounds. Grinding, rattling, or squealing noises during acceleration or braking could indicate issues.
  • Test the Brakes: Make sure the car brakes smoothly and doesn’t pull to one side. If the brakes feel spongy or there’s a delay in stopping, the brake system may need repair.
  • Check the Steering: The steering wheel should be responsive and free from vibrations. Excessive play or pulling in one direction may signal alignment or suspension issues.
  • Evaluate Acceleration and Transmission Shifts: Accelerate at different speeds and test how the transmission shifts between gears. Delays in shifting or jerky transitions could point to transmission problems.

Vehicle History Report

While an inspection reveals a lot about a car’s current condition, a vehicle history report provides insight into its past.

  • Check for Accidents: A vehicle history report will show whether the car has been in any serious accidents. Multiple accidents or major repairs could be a red flag.
  • Review Ownership History: The report can tell you how many owners the car has had and whether it was used as a rental or fleet vehicle, which may have increased wear and tear.
  • Verify Service Records: A well-maintained car will have consistent service records. Gaps in the maintenance history could suggest neglect.

Professional Inspection

If you're serious about purchasing the vehicle, having a professional mechanic perform a pre-purchase inspection is a wise step.

  • Get a Mechanic's Opinion: A trained mechanic can spot issues that you may miss during your own inspection. They can assess the car’s condition more thoroughly, especially in areas like the engine, transmission, and suspension.
  • Use a Diagnostic Tool: Mechanics often use specialized tools to read the car's onboard computer for hidden issues. This can reveal problems that don't show up during a visual inspection or test drive.

Negotiating Based on Your Inspection

After completing your inspection, use what you’ve learned to negotiate the best price for the vehicle.

  • Identify Needed Repairs: If you find minor issues during your inspection, use these as leverage to lower the price. The cost of repairing things like worn tires or replacing the battery can be deducted from the asking price.
  • Be Prepared to Walk Away: If you discover major problems, it’s okay to walk away. Don’t feel pressured to buy a car that may cause more headaches down the line.

Conducting a thorough inspection when buying a used car ensures you make a smart investment. By checking everything from the exterior and engine to the car’s history and taking it for a test drive, you’ll be in a strong position to make an informed decision and avoid unexpected surprises after purchase.

18 Sep, 2024
Performing basic car maintenance yourself can save you money and extend the life of your vehicle. While some tasks require professional expertise, there are many simple things you can do at home to keep your car in top shape. Even if you’re not a mechanic, learning a few DIY car maintenance tips can help prevent costly repairs down the road and keep your car running smoothly. Here are some easy-to-follow maintenance tasks for beginners. 1. Check and Change Your Oil Regular oil changes are critical for engine health and longevity. If you neglect your oil, it can lead to engine damage, which is expensive to repair. How to Check Oil Levels: Pop the hood and locate the dipstick. Pull it out, wipe it clean, and reinsert it. Pull it out again and check the oil level. If it’s low, add oil according to the manufacturer’s specifications. When to Change Oil: Typically, oil should be changed every 5,000 to 7,500 miles, depending on your car and driving habits. Use a wrench to remove the oil drain plug, let the old oil drain, and replace the filter before adding new oil. Why It’s Important: Fresh oil lubricates the engine, reduces friction, and prevents overheating. Skipping oil changes can cause your engine to seize, leading to major repairs. 2. Check Tire Pressure and Tread Proper tire maintenance ensures better fuel efficiency, handling, and safety. Underinflated tires can wear out quickly and reduce fuel economy, while bald tires increase the risk of accidents. How to Check Tire Pressure: Use a tire pressure gauge to check each tire’s pressure when they are cold. Compare the reading to the recommended pressure, which can be found in the owner’s manual or on the driver’s side door sticker. How to Check Tread Depth: Insert a penny into the tire’s tread groove with Lincoln’s head facing down. If you can see the top of his head, your tread is too low, and it’s time to replace the tires. Why It’s Important: Proper tire pressure improves fuel efficiency and prolongs tire life. Adequate tread depth ensures proper grip on the road, especially in wet or icy conditions. 3. Replace Windshield Wipers Worn-out windshield wipers reduce visibility during rain or snow, making driving more dangerous. Luckily, replacing wipers is a simple task. How to Replace Wipers: Lift the wiper arm away from the windshield and press the small tab to release the blade. Slide the new blade into place until you hear it click. Repeat on both sides. When to Replace: Most wipers need replacement every 6-12 months. If your wipers leave streaks or squeak when in use, it’s time for a new set. Why It’s Important: Good windshield wipers improve visibility during harsh weather, keeping you safer on the road. 4. Inspect and Replace Air Filters A clean air filter improves engine performance by ensuring proper airflow and reducing fuel consumption. How to Inspect the Air Filter: Locate the air filter box, usually near the engine. Open it up and pull out the filter. Hold it up to the light—if it’s dirty or clogged, it’s time to replace it. How to Replace It: Insert the new filter into the box and ensure it fits snugly. Close the air filter housing and you’re done. Why It’s Important: Replacing your air filter every 12,000 to 15,000 miles helps your engine breathe better, improves fuel economy, and ensures cleaner emissions. 5. Replace Light Bulbs Proper lighting is essential for nighttime visibility and signaling other drivers. If your headlights or brake lights go out, it’s a safety hazard that’s easy to fix. How to Replace Headlights or Taillights: Consult your owner’s manual to find the type of bulb you need. Open the hood or trunk to access the light housing. Remove the old bulb and insert the new one. Ensure it's securely in place and test it by turning on the lights. When to Replace: If you notice dim or flickering lights, or if one goes out, replace it immediately. It’s best to replace both bulbs at the same time, even if only one is out, to ensure equal brightness. Why It’s Important: Bright, functioning lights are crucial for visibility, especially in poor weather conditions. Keeping them in good condition ensures your car remains safe to drive at night. 6. Check and Top Off Fluids Besides oil, your car uses various fluids to operate efficiently. Regularly checking and topping off these fluids can prevent mechanical failures. Brake Fluid: Check the brake fluid reservoir under the hood. If the fluid is below the “minimum” line, add brake fluid. Low levels can indicate a leak, so have it checked by a professional if the problem persists. Coolant: Coolant helps prevent your engine from overheating. Make sure the coolant level is between the “min” and “max” lines on the reservoir, adding more if necessary. Windshield Washer Fluid: Keep your washer fluid topped off to ensure you can clean your windshield while driving. Simply pour washer fluid into the reservoir under the hood until it’s full. Why It’s Important: Maintaining proper fluid levels ensures that your car’s critical systems—like the brakes and cooling system—function properly, preventing damage and accidents. 7. Rotate Tires Rotating your tires ensures even wear, improving handling and extending the life of your tires. How to Rotate Tires: Use a jack to lift the car and remove the tires. Move the front tires to the back and the back tires to the front. Be sure to follow the correct rotation pattern for your vehicle (found in the owner’s manual). When to Rotate: Most experts recommend rotating your tires every 6,000 to 8,000 miles, or with every oil change, to ensure even wear. Why It’s Important: Rotating tires helps distribute wear more evenly, preventing premature tire replacement and ensuring better performance on the road. 8. Replace the Cabin Air Filter Your cabin air filter prevents dust, pollen, and other contaminants from entering the car’s interior. A dirty filter can affect air quality and reduce airflow from your AC. How to Replace It: Locate the cabin air filter, usually behind the glove box or under the dashboard. Remove the old filter and insert the new one, making sure it’s properly aligned. When to Replace: Cabin air filters should be replaced every 12,000 to 15,000 miles, or as needed based on air quality and driving conditions. Why It’s Important: A clean cabin air filter improves the air you breathe inside the car and keeps your HVAC system functioning efficiently. 9. Battery Maintenance A well-maintained battery ensures your car starts without issues and runs electrical components smoothly. How to Clean Battery Terminals: Over time, corrosion can build up on your battery terminals, leading to poor electrical connections. Use a mixture of baking soda and water to clean the terminals, scrubbing with a wire brush. Check Battery Voltage: If your car struggles to start, use a multimeter to check the battery voltage. If the reading is below 12.4 volts, it may be time for a new battery. Why It’s Important: Regular battery maintenance prevents unexpected breakdowns and ensures all electrical systems in your car function properly. Starting with these simple DIY car maintenance tasks can help keep your vehicle running smoothly and save you money on repairs. As you gain confidence, you may even feel comfortable tackling more advanced maintenance tasks, but always know when to consult a professional for more complicated issues.
18 Sep, 2024
Modern cars are equipped with safety features designed to protect you on the road, but some of the most beneficial innovations often go unnoticed. Beyond airbags and seat belts, today’s vehicles offer advanced safety technologies that can significantly reduce the risk of accidents and injuries. These features may not be on your radar, but they can make a big difference in keeping you safe. Here are some car safety features you didn’t know you needed. 1. Blind Spot Monitoring (BSM) Blind spot monitoring systems use sensors to detect vehicles in your blind spots and alert you to their presence. How It Works: BSM uses radar sensors in the rear bumper to monitor the areas next to your car that are difficult to see with mirrors alone. If a vehicle is in your blind spot, a visual or audible warning alerts you to avoid changing lanes. Why You Need It: Lane-change accidents are common, especially in heavy traffic. Blind spot monitoring provides an extra layer of safety, helping you make safer lane changes. 2. Lane Departure Warning (LDW) and Lane Keeping Assist (LKA) These systems help you stay in your lane, especially during moments of distraction or drowsiness. How It Works: Lane departure warning uses cameras to monitor the lines on the road. If you unintentionally drift out of your lane, the system warns you with a beep or steering wheel vibration. Lane keeping assist goes one step further, gently steering the car back into the lane if you don’t correct it yourself. Why You Need It: Drifting out of your lane, especially at high speeds, is dangerous and can lead to serious accidents. LDW and LKA help prevent unintentional lane changes, keeping you on the right track. 3. Automatic Emergency Braking (AEB) Automatic emergency braking can stop your car in case of an imminent collision, even if you don’t react in time. How It Works: AEB systems use sensors or cameras to detect objects ahead of your car. If the system senses a potential collision and you don't brake in time, it automatically applies the brakes to reduce the severity of the impact or avoid the collision altogether. Why You Need It: In sudden stop situations, like a car braking unexpectedly in front of you, AEB can reduce your reaction time and prevent accidents. It’s particularly useful in urban driving with heavy traffic. 4. Adaptive Cruise Control (ACC) Adaptive cruise control adjusts your speed automatically to maintain a safe distance from the car ahead, making long drives safer and more comfortable. How It Works: Unlike traditional cruise control, ACC uses radar and cameras to monitor the traffic ahead. It automatically adjusts your car’s speed to keep a safe following distance, slowing down when necessary and accelerating back to the set speed when traffic clears. Why You Need It: ACC is ideal for highway driving and stop-and-go traffic. It reduces the stress of constant braking and accelerating, allowing you to focus more on the road and less on speed adjustments. 5. Rear Cross-Traffic Alert Backing out of a parking space or driveway can be risky, especially if visibility is limited. Rear cross-traffic alert helps you detect approaching vehicles from the sides. How It Works: This system uses sensors on the rear bumper to monitor traffic from both sides as you reverse. If a vehicle or object approaches from either direction, the system alerts you with an audible warning and may display a visual alert on your dashboard or rearview camera screen. Why You Need It: Rear cross-traffic alert is particularly useful in crowded parking lots where it’s difficult to see oncoming traffic. It helps prevent collisions when backing out of tight spaces. 6. Traffic Sign Recognition (TSR) Keeping track of speed limits and road signs while driving can be challenging. Traffic sign recognition helps by reading road signs for you. How It Works: TSR uses a front-facing camera to detect and interpret road signs, such as speed limits, stop signs, and no-entry signs. This information is displayed on your dashboard or head-up display. Why You Need It: TSR can be particularly helpful in unfamiliar areas or in conditions where road signs may be obscured. By keeping you informed of speed limits and other important rules, it helps you avoid costly tickets and keeps you safe. 7. Driver Attention Monitoring This system detects signs of driver fatigue or distraction and alerts you to take a break. How It Works: Driver attention monitoring uses cameras to observe your driving behavior, such as steering patterns and lane positioning. If the system detects signs of drowsiness or distraction, it issues a warning, often suggesting you take a break. Why You Need It: Fatigue is a major factor in accidents, especially on long trips. Driver attention monitoring helps you stay alert and safe by reminding you to take breaks when necessary. 8. Pedestrian Detection Pedestrian detection systems are designed to identify people walking near or across the road and help prevent accidents. How It Works: Using cameras or radar, the system scans the road for pedestrians. If someone steps in front of your vehicle, the system issues a warning and may automatically apply the brakes if you don’t respond quickly enough. Why You Need It: Pedestrian accidents are a serious risk, especially in urban areas. Pedestrian detection can help reduce the likelihood of these collisions by giving you extra reaction time. 9. Parking Sensors Parking in tight spaces can be tricky, but parking sensors make it easier and safer by helping you avoid obstacles. How It Works: Parking sensors use ultrasonic waves to detect objects around your car while parking. When you get too close to an object, the system issues a series of beeps that increase in frequency as you approach. Why You Need It: Parking sensors are especially helpful in tight spots or when visibility is limited, such as when parking at night or in busy areas. They help prevent fender benders and damage to your vehicle. 10. Forward Collision Warning (FCW) Forward collision warning alerts you when you’re getting too close to the car in front, helping you avoid rear-end collisions. How It Works: FCW uses radar or cameras to monitor the traffic ahead. If it detects that you're approaching another vehicle too quickly, it alerts you with visual or auditory signals, prompting you to brake or take evasive action. Why You Need It: FCW gives you extra time to react to potential hazards, which is critical in preventing rear-end collisions, especially in stop-and-go traffic or at highway speeds. Many of these safety features are becoming standard in modern vehicles, but they are still often overlooked by car buyers. Understanding how these technologies work and why they’re important can help you make informed decisions when purchasing your next car, ensuring that you’re better protected on the road.
18 Sep, 2024
Your car’s electrical system is crucial for its overall performance, powering everything from the engine to the lights and dashboard instruments. When electrical issues arise, they can lead to a range of problems, from minor annoyances to serious safety concerns. Knowing how to troubleshoot common electrical problems can save you time and prevent costly repairs. Here’s a guide to diagnosing and fixing some of the most frequent car electrical issues. 1. Dead Battery A dead battery is one of the most common electrical problems drivers face, and it can leave you stranded without warning. Check the Battery Terminals: Corroded or loose battery terminals are a common cause of starting problems. Clean the terminals with a wire brush and tighten them to ensure a good connection. Test the Battery Voltage: Use a multimeter to check the voltage of your battery. A fully charged battery should read between 12.6 to 12.8 volts. If it’s below 12.4 volts, the battery may need recharging or replacement. Inspect for Parasitic Drain: If your battery repeatedly dies, there could be a parasitic drain—something that’s using power even when the car is off. This could be caused by an electrical component like an interior light or stereo system that remains on. 2. Faulty Alternator The alternator charges your battery while the car is running and powers many of the car’s electrical components. When it fails, you may experience various electrical issues. Check for Dimming Lights: If your headlights dim while driving, it’s often a sign of a failing alternator. The alternator may not be providing enough power to run the car’s systems. Listen for Noises: A failing alternator can make unusual noises, such as grinding or whining sounds. This is often due to worn bearings or a failing pulley. Test Alternator Output: Use a multimeter to check the voltage output while the engine is running. The alternator should produce between 13.5 and 14.5 volts. Anything outside this range could indicate a problem. 3. Blown Fuses Fuses protect your car’s electrical components from power surges. If a specific feature, like the radio or interior lights, suddenly stops working, a blown fuse could be the culprit. Locate the Fuse Box: Your car has one or more fuse boxes, often located under the dashboard or in the engine bay. Refer to your owner’s manual to find the correct one. Check for Blown Fuses: Fuses are usually clear plastic with a visible wire inside. If the wire is broken or blackened, the fuse has blown. Replace it with a fuse of the same amperage. Look for the Cause of the Blowout: A blown fuse may signal a deeper issue, like a short circuit or faulty wiring. If a fuse keeps blowing after replacement, have a professional inspect the system. 4. Malfunctioning Starter If your car won’t start and the battery is fine, the problem could be with the starter motor or solenoid. These components are responsible for turning the engine over. Listen for a Clicking Noise: If you hear a single click when turning the key, but the engine doesn’t crank, it could be a sign of a bad starter. Multiple rapid clicks usually indicate a weak battery. Test the Starter Relay: The starter relay sends electrical current from the battery to the starter motor. If the relay is faulty, the starter won’t engage. You can test the relay with a multimeter or swap it with another relay of the same type to see if the problem resolves. Inspect for Corrosion or Loose Connections: Corroded or loose connections at the starter motor or solenoid can prevent the engine from starting. Clean the connections and tighten any loose wires. 5. Electrical Shorts Electrical shorts occur when wires cross or touch, causing a disruption in the flow of electricity. This can lead to blown fuses, malfunctioning components, or even electrical fires. Check for Damaged Wiring: Inspect visible wiring under the hood and in the cabin for signs of wear, such as frayed wires or exposed insulation. Pay attention to areas where wires pass through metal or plastic parts, as these are common spots for wear. Use a Multimeter to Find the Short: If you suspect a short circuit, use a multimeter to trace the electrical current. You’ll need to check for continuity in the wiring to locate where the problem lies. Look for Aftermarket Modifications: If you’ve recently installed new electrical components, such as a stereo or lighting system, check the installation. Poor wiring or incorrect connections can cause electrical shorts. 6. Flickering or Non-Working Lights Flickering headlights or dashboard lights can indicate an electrical issue. These problems are often caused by poor connections, a failing alternator, or issues with the wiring. Check the Bulbs: Start by inspecting the bulbs to ensure they aren’t burned out. If the bulbs are fine, the issue could be with the electrical wiring or fuse. Inspect the Headlight Relay: The relay controls the power going to your headlights. If the relay is faulty, it could cause flickering or complete failure. Relays are inexpensive and easy to replace. Examine the Wiring: Damaged or loose wiring can lead to flickering lights. Check the wiring leading to the lights, especially if they flicker when you hit a bump or turn the steering wheel. 7. Problems with Power Windows or Locks When power windows or door locks stop working, it can be inconvenient and frustrating. These issues are often due to bad switches, faulty wiring, or a blown fuse. Test the Switches: Try operating the windows or locks from the driver’s controls and the individual door switches. If one switch works and the other doesn’t, the problem likely lies in the faulty switch. Check the Fuse Box: Power windows and locks are protected by fuses, so check for any blown fuses related to these components. Inspect the Wiring and Connectors: Wiring in the door panels can become damaged over time. Inspect the connectors and wiring harnesses for loose connections or damage, especially where the wiring passes through the door. 8. Dashboard Warning Lights Warning lights on the dashboard are your car’s way of communicating potential electrical issues. Ignoring these lights can lead to bigger problems down the road. Check the Engine Light: If the check engine light is on, have the vehicle scanned for error codes. This will help you pinpoint the issue, whether it’s related to sensors, the battery, or other electrical components. Look for Sensor Problems: Modern cars rely heavily on sensors to monitor everything from tire pressure to engine performance. If the warning lights flicker or turn on without cause, a sensor or wiring issue could be to blame. Reset the System: Sometimes, dashboard lights can come on due to minor glitches. Reset the car’s system by disconnecting the battery for a few minutes, then reconnecting it. If the lights come back on, have the car inspected by a professional. Being proactive about diagnosing and addressing electrical issues can save you from costly repairs and prevent breakdowns. Many electrical problems can be traced to simple causes like loose connections, dead batteries, or blown fuses. However, if you're unable to resolve the issue on your own, it’s always best to consult a professional mechanic.
Share by: